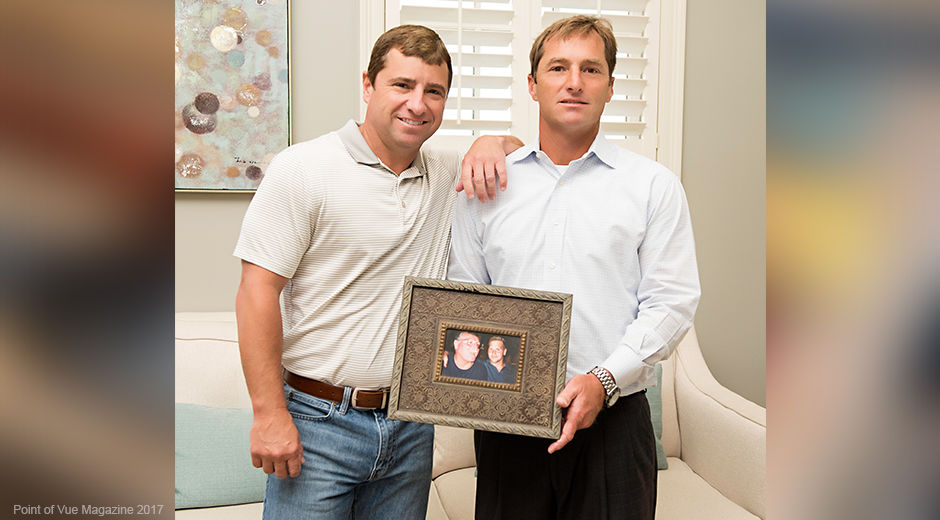
My Brother’s Keeper
October 3, 2017
Work First, Play Second
October 3, 2017With the right tricks, DIY costumes can be a treat! Armed with your imagination and a few basic supplies, your little one won’t be the only one having fun. Creating a one of a kind costume for your one of a kind kid is the perfect way to show off their personality and interests. Take a peek at these adorable children who are too cute to spook!


Bentley & Weston Degruise
sons of Brandi and Eric Degruise
Batman and Robin


Adellah Ledet – Jellyfish
daughter of Amanda and Terrel Ledet
Materials:

• Clear umbrella
• Battery powered lights
• Tulle, in varying shades
• Ribbon, in varying lengths, colors and textures
• Elastic
• White or pink leotard
1. Wrap battery powered lights around the 4 spokes of the umbrella and then up into the middle.
2. For the tentacles on the umbrella, wrap the ribbon around the spokes of the umbrella, close to the edge of the plastic and around the wires. Finish the umbrella by gluing ribbon around the edge.
3. For the tutu, cut multiple pieces of ribbon and tulle. Cut a piece of elastic to fit your child’s waist. Loop the ribbon and tulle around the elastic. The more tulle you add, the fluffier the tutu will be.


Sawyer Candies – Gumball Machine
daughter of Channing and Seth Candies
Supplies:

• 1-2 Spools of red tool
• Red onesie
• Elastic or ribbon

• Pom Pom balls
• Hot glue and glue gun
• 1 Sheet Black and silver foam
• Elastic headband
• Scissors
• Measuring tape for lengths

• Pen
• Glue
1. Measure and cut elastic to child’s waist size. Make slightly smaller

for stretching.
2. Cut pieces of red tool into 16 inch pieces or desired length.
3. Loop-knot pieces of tool on elastic until desired thickness has been reached
4. Cut black foam into rectangle
5. Draw or trace 25¢ onto silver foam.
6. Cut silver foam.
7. Glue silver foam onto black foam.
8. Attach black foam to tutu by hot glue or safety pin.
9. Tie elastic ends together to form tutu.
10. Hot glue pom pom balls to red onesie.
11. Hot glue pom pom balls to elastic headband
Your child is now the cutest gumball machine in the neighborhood!

Spencer Brooks – Maui, shapeshifter, demigod of the wind & sea, Hero of Man. (half man, half god, ALL AWESOME)
son of Michelle and Beau Brooks
Maui, shapeshifter, demigod of the wind & sea, Hero of Man. (half man, half god, ALL AWESOME)

Materials:
• Wig
• Tan shirt
• Tattoo patterns
• Leaf patterns
• Green felt

• Green ribbon
• Rope
• Seashells
• Maui’s magical hook (optional)
How to make:
1. Trace tattoo patterns onto shirt with a black pen or black marker
2. Glue seashells around collar of shirt
3. Trace leaf patterns onto green felt
4. Use black maker to draw lines to create the leaf
5. Glue leaves to the green ribbon
6. Attach rope to the green ribbon
7. Attach seashells to rope around waist

Ella Means – Cotton Candy
daughter of Kimberly and Brett Means
Materials for body of costume:
• Tight fitting adult sized small t-shirt (this allows the cotton candy to look longer on the child)
• Pillow fill, such as PolyFil Polyester Fiber
• 2 cans adhesive spray
• 1 can pink spray, such as Design Master spray for silk flowers
• Newspaper
• Pink base layers (long sleeve shirt and pants or tights)
• Large pillow
• Wig or shower cap
• Cute shoes to match!
Materials for cone:
• White poster board
• Pink ribbon, 10-12 inches long
• Glue gun
• Pencil
1. Remove poly-fil from bag and gently pull it apart. Spread on a surface covered in newspaper.
2. Spray poly-fil with pink spray until lightly covered. Allow to dry for at least an hour.
3. Grab your t-shirt and pull it over the large pillow. You can now see the shape you are working with. Make sure the pillow stays standing straight up.
4. Now to build the cotton candy! Take the adhesive spray and spray a small section of the t-shirt, then grab a small piece of the poly-fil and place it on the sprayed section. Hold it in place for 2-3 seconds. Continue this process until the entire shirt is covered, front and back.
Tip: If you want the cotton candy to look fuller, apply a second layer of poly-fil to the t-shirt by repeating the process above. You can make your cotton candy as fluffy as you wish!
5. Take the wig or shower cap and fill the inside with newspaper so you can really see the shape. Adhere poly-fil by repeating step #4. Allow to dry fully.
6. With the poster board, draw a quarter circle with a radius of about 14-16 inches. Cut out the circle and roll the poster board into a cone. Glue the pink ribbon to the inside base of the cone at opposite sides, directly across from one another. These are the straps that will be tied around the neck to hold the cone hat in place over the fluffy wig cap.
7. Step back and look at your creation. If you would like to add more pink color, simply spray on and let dry fully.
8. Assemble your costume! Put all the pink base layers on first. Take the pillow out of the t-shirt and pull the t-shirt of fluff on. Place the fluffy wig on your child’s head, placing the cone directly on top. Tie a pretty bow under the chin to hold the wig and cone on. Add some fancy shoes and you’re ready to hit the neighborhood for some equally delicious treats.
